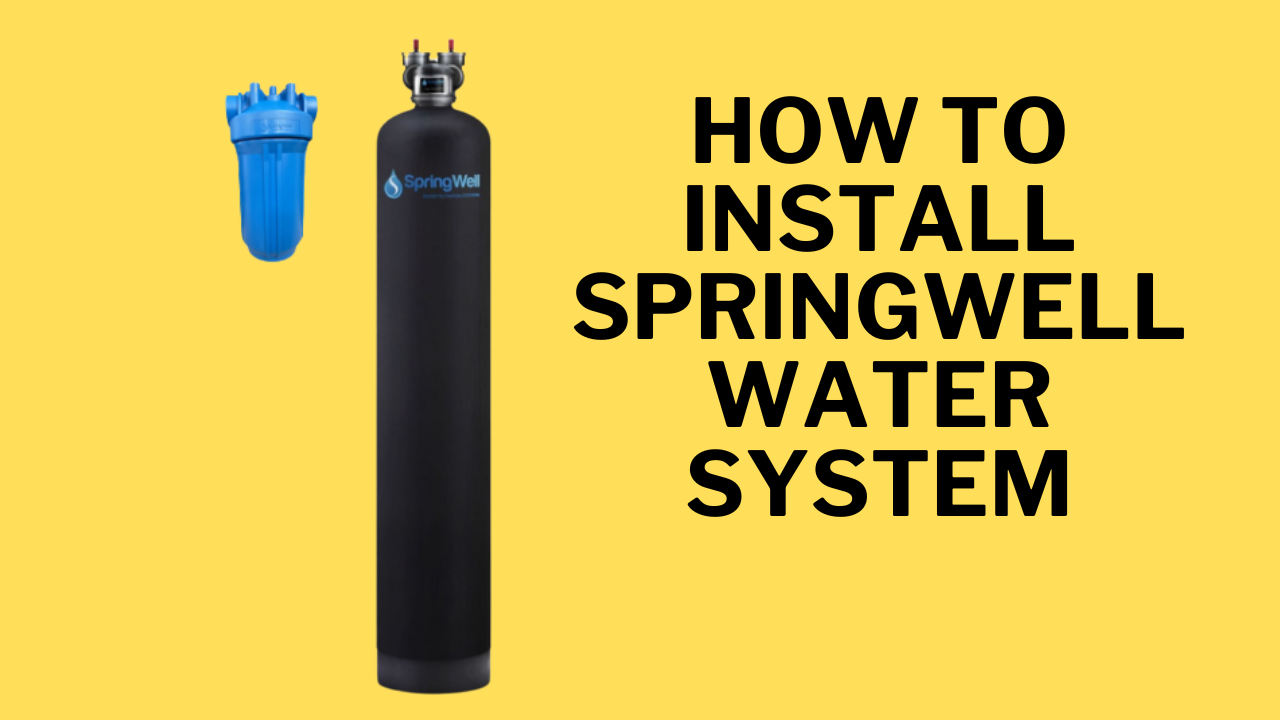
Are you looking to enhance the quality of your home’s water supply? Installing a Springwell water filter system is a smart choice, ensuring clean and healthy water for you and your family. In this guide, we’ll take you through a step-by-step process on how to install the Springwell water filter system to optimize your water quality and overall home well-being.
How To Install Springwell Water Softener?
Follow these easy steps to install your Springwell water system by focusing on the Carbon Tank Head installation:
Remote Setup
Install everything from a distance. Start by taking off the CO2 tank cap.
Find the Tank Head
Look for the tank head which is an important part. The tank’s top has a pipe that needs to match up with the tank’s entrance.
Get the Alignment Right
Make sure the pipe on the tank’s head lines up perfectly with the tank’s entrance.
Secure the Tank Head
Gently put the tank head on the tank and press it down. Tighten it with a screwdriver to keep it in place.
These simple steps ensure a smooth setup for your Springwell water system, especially when dealing with the Carbon Tank Head.
Install the Carbon Tank for Water Filtration
You can maximize the effectiveness of your water filtration system by pre-soaking the carbon tank for a recommended duration of 48 hours before usage.
Follow these steps for an effective soak:
Equipment Needed
- Bypass Valves
- Empty Carbon Tank
- Two MNPT Fittings
- Outdoor Faucet
- Accessory Kit
Steps To Follow
- Attach the Bypass Valve to the Tank Head
Secure the bypass valve onto the tank head, ensuring a firm connection. Besides, make sure to use proper fastening to prevent the leaks.
- Connect MNPT Fittings
Attach the MNPT fittings to each bypass valve connection, ensuring they are securely linked for proper functionality.
- Setting Up Water Flow
Turn off the bypass valve to allow water to flow through the system.
After that, connect a lawn hose to the inlet pipe, using a hose bib for proper attachment.
This detailed process ensures that your water filtration system’s carbon tank is thoroughly soaked and primed for optimal performance when in use.
How To Flush the Carbon Tank To Optimize Water Quality
Requirements
Before you start the flushing process, make sure you have the following things;
- Hose bib installation
- Carbon tank
- Yard hose
The Flushing Procedure
- Connect Equipment
Attach the water hose and hose bib assembly securely to the tank’s inlet.
- Switch Off Bypass
Turn off the bypass switch to prepare for the flushing process. Note: Some water may leak due to the previous presoaking step.
- Flush with Water
The most effective method to flush the tank is by using water. You should expect the initial water flow to appear dark brown due to residual carbon particles. This is normal. However, allow approximately 5 minutes for this process.
- Reverse Flushing
Flush the tank in the opposite direction as well to ensure thorough cleaning. Flip the hose bib and water hose, and let water flow for another 5 minutes.
- Disconnect and Reassemble
Once flushing is complete, disconnect the pipe and fittings. Gradually secure the tank top by carefully zipping up the jacket to ensure a tight seal.
Be attentive to the water’s color change during flushing; initially dark, it should gradually clear up, signifying the removal of carbon particles. Following these steps diligently guarantees improved water quality and efficient performance of your system.
Optimizing Sediment Filter Installation
Materials Needed
- Drill bit (3 inches)
- Three PVC Nipples (1 inch or 3 centimeters each)
- Plumber’s tape
Installation Steps For Sediment Filter
- Preparing for Installation
Make sure to gather the necessary materials, including a drill bit and three PVC nipples.
Plus, ensure each PVC nipple measures 1 inch (3 centimeters).
- Connecting PVC Nipples
Identify the intake and outlet on the sediment filter housing.
Also, attach the PVC nipples to both inlets, sealing the connections with plumber’s tape to prevent leaks.
- Aligning with Carbon Tank
Position the sediment filter so that it aligns with the carbon tank in the water system.
- Mounting the Rack
Make sure to use a 3-inch drill bit to securely affix the mounting rack to the wall.
- Verifying Inlet and Outlet Position
Before installation, ensure the sediment filter’s inlet and outlet are correctly positioned for efficient water flow.
- Installing with Bolts
Securely install the sediment filter using bolts, confirming the proper alignment of the inlet and outlet.
How To Add a Shut-Off Valve for Clean Water
To make your water filter work better, put the carbon tank right before the dirt filter. Make sure to point the wires and connections the other way for best results. Also, connect the wrinkly pipes to the carbon tank’s shut-off valve going in. The carbon tank’s output should connect the same way as the carbon tank’s input.
Besides, the wrinkly pipe from the carbon tank to the dirt tank’s nook should be attached the same way. Remember that if you connect another wrinkly pipe from the dirt tank’s exit to your home’s water pipe from the other side of the tank. Make sure everything is tight to avoid leaks.
Ensuring Proper Functionality of Your Water Filtration System
Ensuring the proper functionality of your water filtration system is an important step to get pure and filtered water from your whole house; Verify Sediment Filter Housing Security
Confirm that the sediment filter housing is firmly secured in its place within the system setup.
Flushing Water Lines
With the water supply off, open any faucet in your home to allow residual water to flow out completely.
Inspect Shut-off Valve for Leaks
Check the shut-off valve for any signs of leakage before proceeding to the next step in the process.
Bypass Valve Leak Check
Before reactivating the water supply, thoroughly inspect the bypass valves for any potential leaks.
Flushing System
Let the water run through the system for a minimum of 5 minutes. Following this procedure ensures the water is pure and free from silt, ensuring optimal system performance.
How to Change Springwell Water Filter for Optimal Performance
System Shutdown
- Begin by closing all inlet and exit valves to release pressure from the system.
Collect Water Safely
- Place a bucket under the filter housing to catch water during the process.
Bowl Removal
- Unscrew the filter bowl counterclockwise using a filter wrench (turn left).
Cartridge Disposal
- Recycle the empty cartridge, ensuring the filter container is emptied into the bucket.
O-ring Examination
- Remove O-rings, clean them thoroughly, and set them aside for further inspection.
- Replace or discard any damaged O-rings.
Cleaning Process
- Add 1 tbsp (30 ml) bleach to the 1/3-filled bowl.
- Scrub thoroughly with a non-abrasive sponge or towel to remove bacterial, rust, and scale buildup.
- Rinse the bowl thoroughly.
O-ring Placement
- Ensure the O-ring grooved sitting area is clean.
- Lubricate the O-ring with petroleum jelly and place it in the groove evenly and securely.
Cartridge Installation
- Remove the cartridge’s protective wrapping and set it in the bowl with the post fitted over it.
Secure Bowl
- Lubricate the O-ring and place it in the groove evenly.
- Tighten the bowl clockwise until the cartridge aligns with the post in the filter head; avoid over tightening.
Pressure-Relief Process
- Press and hold the red pressure-relief button as you slowly open the inlet valve until water flows out.
- Repeat as necessary to remove air from the line.
- Softly open the outlet valve to clear any remaining air.
Final Checks
- Run a few water cycles through the system before use.
- Thoroughly check for any leaks to ensure the system’s integrity.
Follow this comprehensive guide to successfully change your Springwell water filter and maintain peak performance.
Step-by-Step Guide to Putting in Your Springwell Water Softener for Softer Water at Home
Follow these following simple steps to set up your Springwell water softener and enjoy softer water in your home;
Start with No Water
Begin the process by turning off all the water in your house. This keeps things safe as you set up your softener.
Add Stopping Valves
Make it easier to control water by adding special valves at both ends of the main water pipe. It’s like having a switch for your water flow.
Connect Pipes with PVC and Curvy Pipes
Make a path for water to get to your softener using PVC pipes and those wavy, curvy pipes. Think of it like creating a route for water to follow.
Fixing the Drain Valve
Take off the blue tab from the drain valve, then remove the valve itself. It’s like opening a door for the next steps.
Safe Drain Line Setup
Keep things secure by putting a clamp on the drain line. Connect it to the drain valve and tighten it up. It’s like making sure water leaves safely.
Wrap Up the Drain Valve Part
Finish the drain valve part by using the blue tab to lock it in place. Check that the other end of the drain line is connected right. This is the last step for water in this part of the system.
Secure the Pre-Filter Part
Use a special tool, like a filter wrench, to tighten up the pre-filter. Imagine it as securing an important piece in your softener.
Give Power to the Electronic Head
Connect the power cord to the electronic head. It’s like giving life to the heart of your softener system.
Find the Battery Spot
Take off the headcover to find where the batteries go. This is where your softener gets its power.
How To Install Brine Tank At Your Home
By following these given steps, you can successfully install the brine tank, guaranteeing a well-functioning water softener system in your home.
Connecting the Drain Line
Begin the process by connecting the drain line to the brine tank’s barbed valve. This ensures a secure pathway for excess water to exit. For a visual guide, someone else can follow your lead to the sink, making it a collaborative effort.
Brine Tank Prep
Then, ensure a smooth process by opening the brine tank and removing its cap. This step allows easy access for the upcoming tasks and ensures proper functioning of the system.
Regen Line Connection
Make sure to enhance the efficiency of your brine tank by connecting the regen line to the brine well through the designated hole in the tank. This connection is crucial for the regeneration process, ensuring your water softener operates effectively.
Salt Addition
Then maintain optimal performance by replacing the brine well cover and adding salt to the tank. This step is like giving your water softener the essential ingredients it needs to work its magic.
Securing the Tank Lid
It’s important to conclude the installation by closing the tank lid securely. This step not only ensures the safety of the components but also marks the completion of the installation process.
Optimize Your System Test for a Smooth Water Softener Operation
By following these detailed steps, you will conduct a thorough system test, guaranteeing a properly functioning water softener system for your home.
Faucet Flow Test
Start by turning on all faucets simultaneously. This action helps prime the system for testing.
Valve Adjustment
Ensure the water softener bypass and shut-off valves are turned off. This step sets the stage for a comprehensive check.
Water Supply Activation
Gradually turn on the water supply throughout your home, allowing water to flow into the system.
Shut-off Valve Inspection
Scrutinize the incoming water supply shut-off valve for any signs of leakage. This ensures a secure water flow.
Bypass Evaluation
Open the shut-off valve to inspect the water softener bypass for any potential leaks. This is an essential step to ensure the system’s integrity.
System Flush
Activate the bypass and let the system run for about five to ten minutes. This process helps clear any accumulated waste, ensuring optimal performance.
Softening Setup
Once the system flush is complete, it’s time to adjust the settings for a softer water experience!
Conclusion
Many people prefer using Springwell whole-house water filters, and it’s smart to have a pro install the Springwell water filtration system. This helps make sure the water system’s pressure and flow rate are just right.
The good news is, this system needs very little attention. Just keep an eye on the sediment filter, checking it regularly depending on your water quality. Besides, keep it simple and hassle-free with an easy guide to setting up and maintaining your Springwell water system that we have explained in this guide.
FAQs
Can I Install a Water Softener System Myself?
Yes, the installation process of Springwell water softener is designed for you to easily install a water softener system on your own, saving both time and money. The entire installation, including replacing an old unit, typically takes less than an hour with our step-by-step instructions.
Do I Need to Soak My Water Filter Before Use?
Before initial use, it is recommended to soak water filters for approximately 15 minutes. Following soaking, ensure a thorough rinse with running water 2-3 times to eliminate any stray particles, including carbon dust. However, the pre-soaking duration may vary by brand, generally falling within the range of 10-15 minutes, contributing to the optimal performance of your water filter.
How Often Should I Replace My Water Filter?
We recommend replacing your water filter every six months to maintain optimal performance and ensure the removal of contaminants. However, the frequency may vary based on water usage and filter capacity. Check the product manual or guidelines for specific recommendations.
What is the Warranty Period for Springwell Water Systems?
Springwell water systems come with a [insert number]-year warranty. Please refer to the product documentation or contact our customer support for specific warranty details and terms.
Can I Install Springwell Water Systems in Any Plumbing Configuration?
Springwell water systems are designed to be versatile and adaptable to various plumbing configurations. However, it’s important to review the product specifications and guidelines to ensure compatibility with your existing plumbing setup. If you have specific questions, our customer support team is available to assist.